Saturday, June 25, 2011

Free Digital Embellishments, Pinwheel, Butterfly, Button, more CU OK

Well, once again, we have Time Warner (only thing available out here) and because of this, when there's more than one person running online, stuff has a tendency to drag down. Well, that's when I catch up on making these li'l guys for ya! 

As usual, commercial use is allowed. And if you don't mind, a little sharing of my link would be awesome but not mandatory :) 


Purple Button 


Purple Flower


Greenish distressed handmade layered flower


Shabby Pinwheel


Layerd Button Embellishment


Layered flower. Distressed & inked edges


Turquoise/teal Butterfly- Glittery center


Ice Cream Cone- vintage inspired


Happy Scrapping! 
Remember, you can always print these out on cardstock and use in traditional scrapbook layouts, cardmaking, and more ;) 

Emily 


Friday, June 24, 2011

Free 4th of July Digital Embellies

Navy Blue Grosgrain Bow


Paper Rosette...  Add another embellie to the center! Cuuuuuuuute :D


Layered Star... Blue with white


Ticket stub with Layered Flower


Right click and choose save :) 
Emily 

Summer Loving Hand Stamped Hang Tags

I am soooooo in love with my tags! I created these yesterday and I was really happy with them. I am usually my own worst critic, so trust me, arrogance is not me :) I think I really liked them when they were done because of the light aqua with the brown. That's one of my fave color combos right now. What's yours? Somebody was mentioning that GAP has a summer collection out and that's their fave color palette right now. I guess I will have to google that as the closest GAP store is about an hour away, and the last time I was in that general area, I had both the kids with me, alone, and they were hungry. Therefor, there was no way I was going shopping! lol. So here are my tags.....

Sunshine and Seashells Hang Tags - Jute Twine and Vintage Inspired

These measure about 2 inches by 3 inches. They are handstamped with a sepia ink and teal. I use staz-on ink. I love that ink for making the ribbon/trim too that I hand stamp. It is permanent. I then prestrung them with a thinner jute twine. They are blank white on the back, which is nice if you are going to use these as gift wrap, labels, etc. I rounded the tops with my corner rounder and then hand aged the edges with coordinating ink.

Sunshine and Seashells Hang Tags - Jute Twine and Vintage Inspired

Sea Breeze and Sea Shells - Vintage Inspired Shabby Chic Hang Tags

I love these too! With these, I took khaki material, hand torn/frayed it, it's on the thinner side (maybe a half an inch) and then stamped the background with seashells. I tried to have them look a "little" faded, just to continue the vintage look. I then stamped them with the text "Sea Breeze" in teal. These also measure about 2 inches by 3 inches. (approx. I have all the details with them listed on etsy).

Sea Breeze and Sea Shells - Vintage Inspired Shabby Chic Hang Tags

Happy Tagmaking! :)
Emily

Wednesday, June 22, 2011

Love this album.... sharing the handmade

well, while browsing online today looking at everyone's creations, I came across this album. Perfect for summertime. I've posted two photos to let you get an idea, but just so I don't "re-blog" her post, you'll have to go check it out there too! <3

Check out her album HERE :)
DSC07570DSC07573

Happy Scrapping! Have something you would like me to share on my blog? Comment here or send me an email at sweetlyscrapped@yahoo.com


~Emily

Monday, June 20, 2011

Farewell to School Cupcake Toppers!

It is the beginning of summer, and for my kids, that ends in 3 days!!!! This Thursday is their last day. I have to admit, I love them being home for the summer. Even if we don't do anything special, I just like having them talk, listening to their little kid ideas and thoughts and sometimes even being in the same room together, drawing or painting, etc. I am SOOO looking forward to summer vacation!

Well, my son promptly reminded me as soon as he got home from school today that he would really like me to make 24 cupcakes for the last day of school. Now, I can't frost a cupcake pretty to save my life {{{trust me, they're horrible! lol}}} so I rely bigtime on cute cupcake toppers. That way all I have to do is frost them "normally" and then add the toppers to make them cute!

I created a free printable that I will be using also! I am attaching these to flat wooden toothpicks. Only on one side. Simple for the 9 year olds. I don't think they'll pay too much attention to detail, but I do want them to look festive. lol.

Here is the free printable. It looks rather large, but I want to make sure that they print the correct size for you. I have it set to print out 8 x 10.

They say "Have a Great Summer!"
Happy Baking and hope you all have a great start to the summer!!!!

Emily

Free Water Bottle Printables

I managed to finish another project that I've wanted to do and that is create water bottle labels. Right click and choose save. Then you can print it out, or open a program like even word, and copy and paste the labels to print out more than one on a sheet. I can seem to fit 3 on a 8 x 11 sheet of cardstock/paper. 

This photo to right click and save already has 3 on it, so all you have to do is print it out. I've given you an idea of what I meant about copying and pasting 3 times to fit on one sheet of paper. 


 This is a blank template.... I have tinted it a tiffany blue shade so that way you can see it. You can always change it back to white or whichever you choose. In case you are wondering, the template measures 8.25 X 2 inches. 


Sunday, June 19, 2011

Gnome Printables

well, I found these neat little printables online and posted them on twitter. Well, everyone was having a problem downloading them and opening them up(the PDF). What I did was I converted them so I can upload them here to the blog. You can grab them here. You can also go HERE to see where I found them.. I am not claiming them as my own, just helping out a friend who wants them :) and having a hard time downloading the PDF.... All you have to do is right click and choose save. 

Here they are.... 


Two free digital embellishments

Here are two free embellishments for you to use! Print out onto cardstock and use for your hybrid

Free Handmade By Printable Labels

Free handmade by labels.... right click, choose save and then print.....

Upcycled Album Tutorial

Do you have kids? Eat alot of cereal? Well, I got an idea for those boxes rather than tossing them in the recycling bin. Not that recycling is bad, but I can make them look waaaayyyyy prettier! Check them out! I will walk you through this picture tutorial so you will know exactly what I did. Some steps I just can't photograph, but they're easy and you will know what I am talking about. Comments are always appreciated, so if you like this, let me know so I can do more! Feedback is always good..... Okay! On with the tutorial!!!! 


First cut your cardboard boxes into 5 inches by 5 inch squares like such. Then you will punch holes. I then used this as a template and marked each one. Then punched the rest of them. 


Then you are going to cut your paper that you are going to use into 5 x 5 squares


Attach the paper to one side, then punch your holes again. This way when you add paper to the second side, you will be able to punch the holes and keep them uniform. You can wait till the end and punch all the holes, but sometimes it is really hard between the paper and the cardboard to punch the holes. 


Here's all my squares, covered in paper

Some extra steps that aren't shown:
1. Add eyelets to the front and back pages for security
2. Hand age all the pages before putting together (remember the hand aging tutorial!)
3. Then you will string ribbon, twine or whatever you choose through the holes and tie off
4. Then you will add additional ribbons to your taste. I've used my hand stamped trim also! 
5. Then you will be able to flip through and add embellishments
6. It's easier to stamp on the pages BEFORE you put the album together. 


Here's my cover

 The Details up close.....


Side view of the album..... 


 First set of pages... Hand stamping and buttons with twine. 


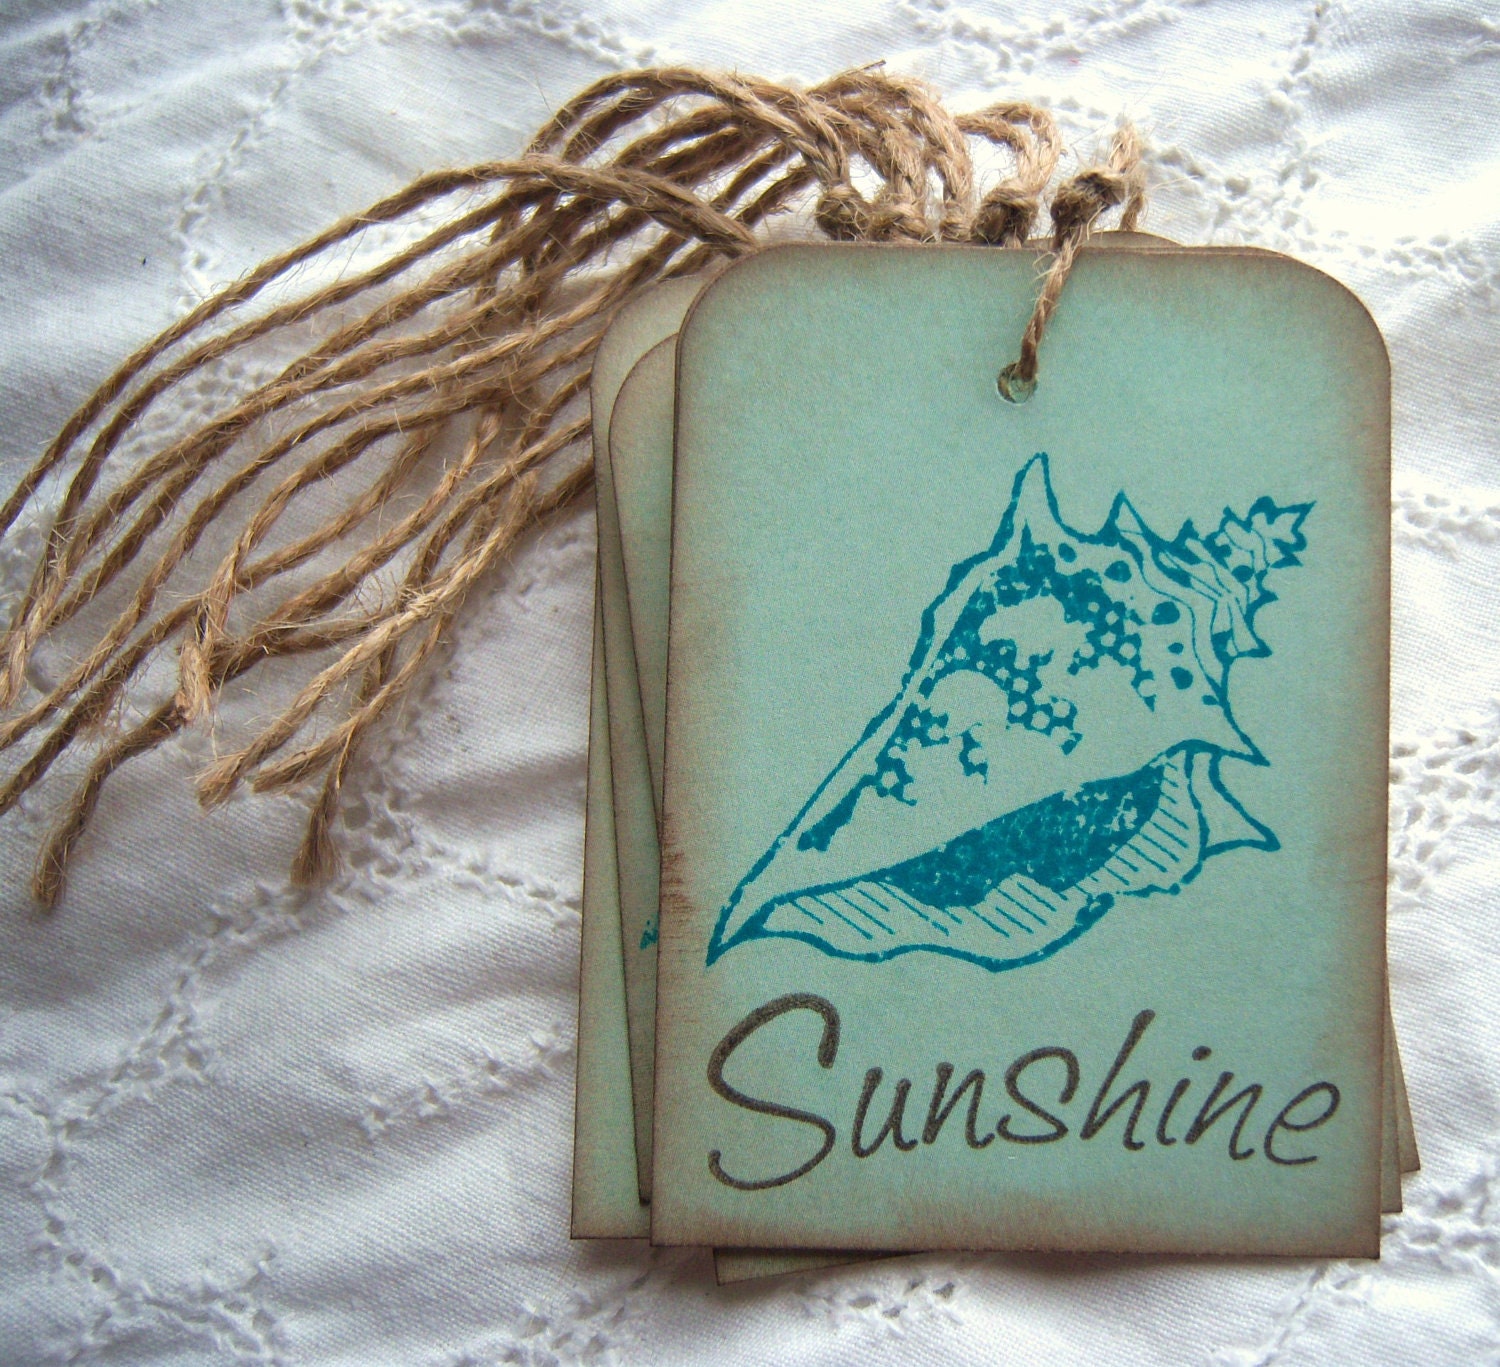
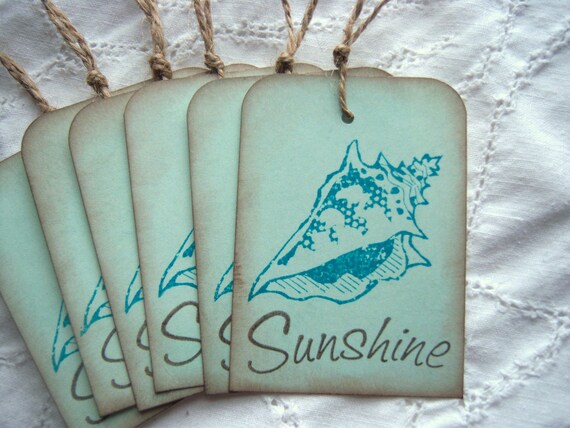
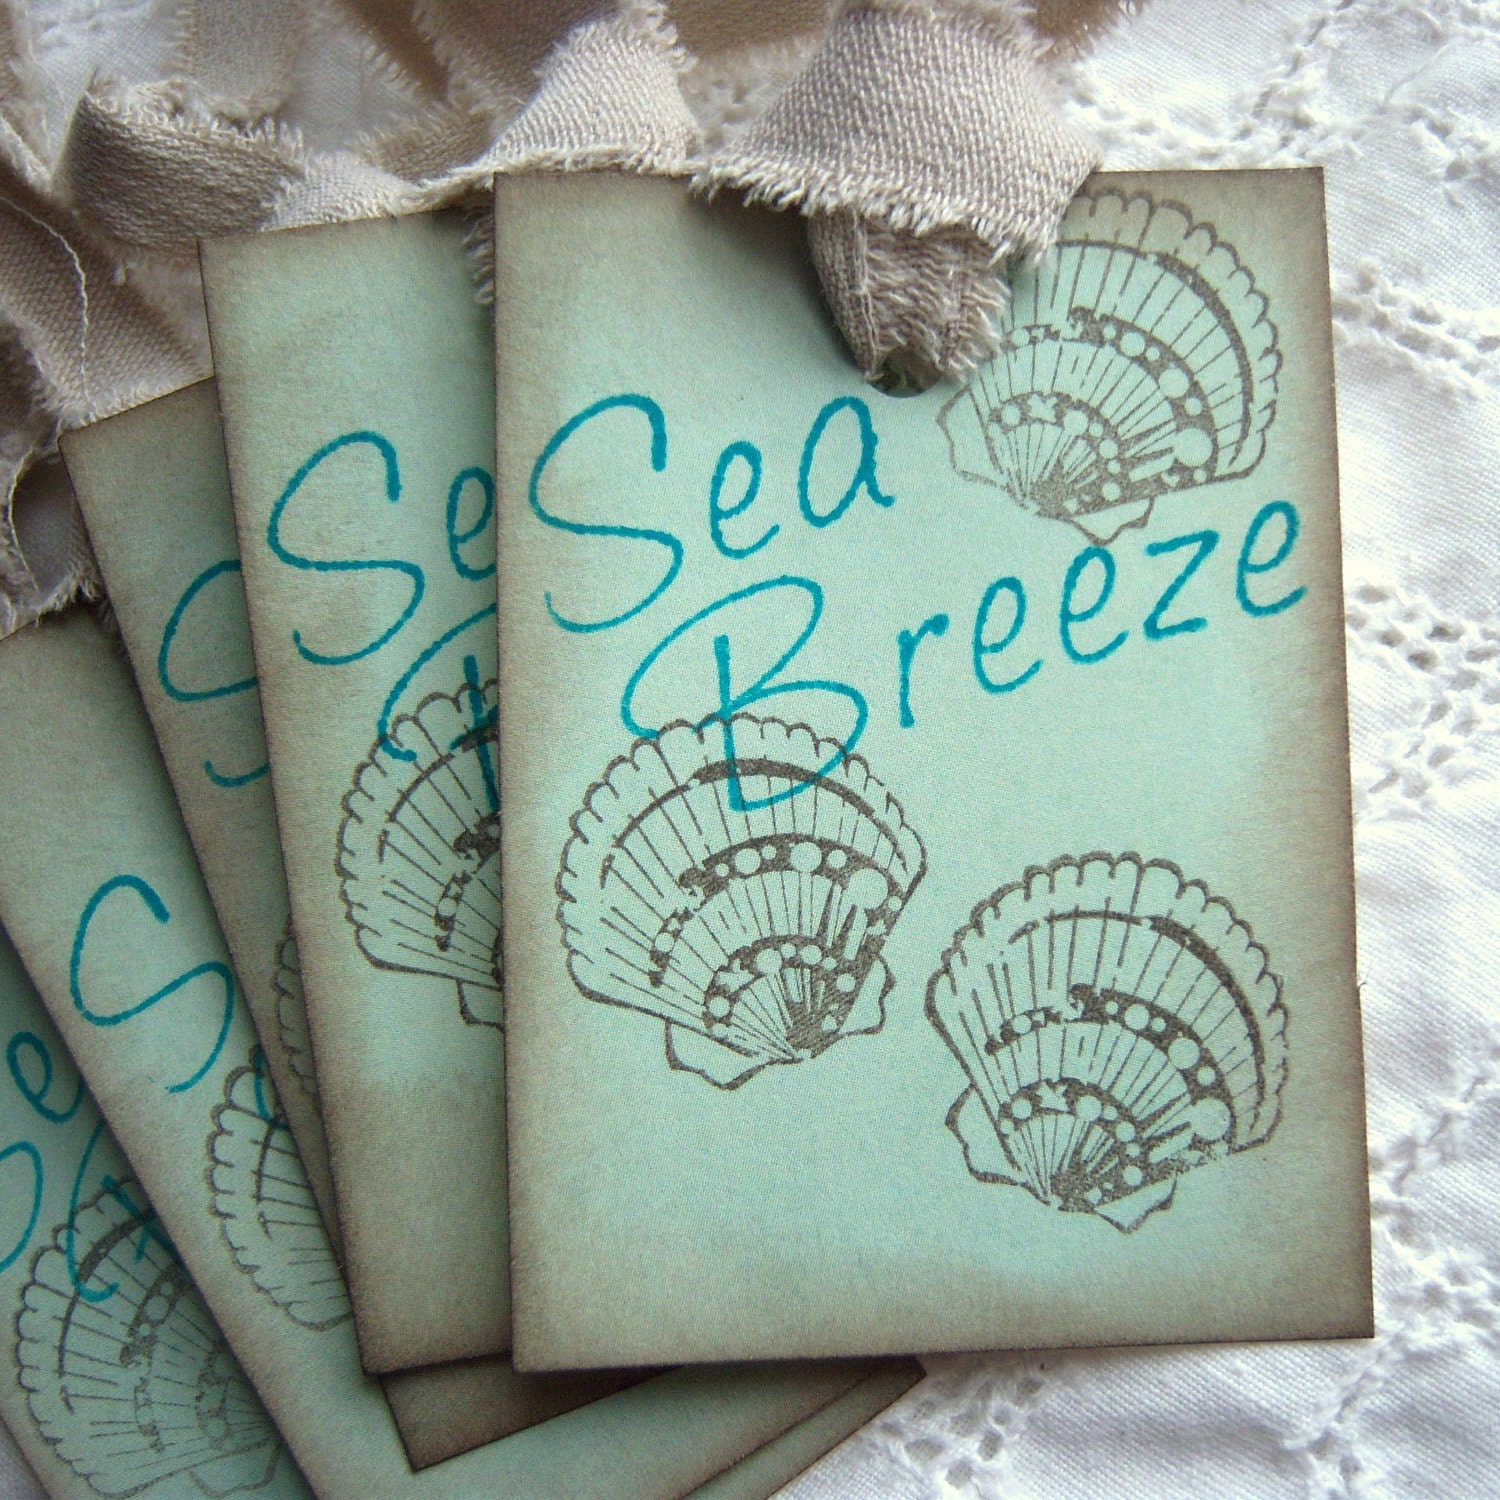
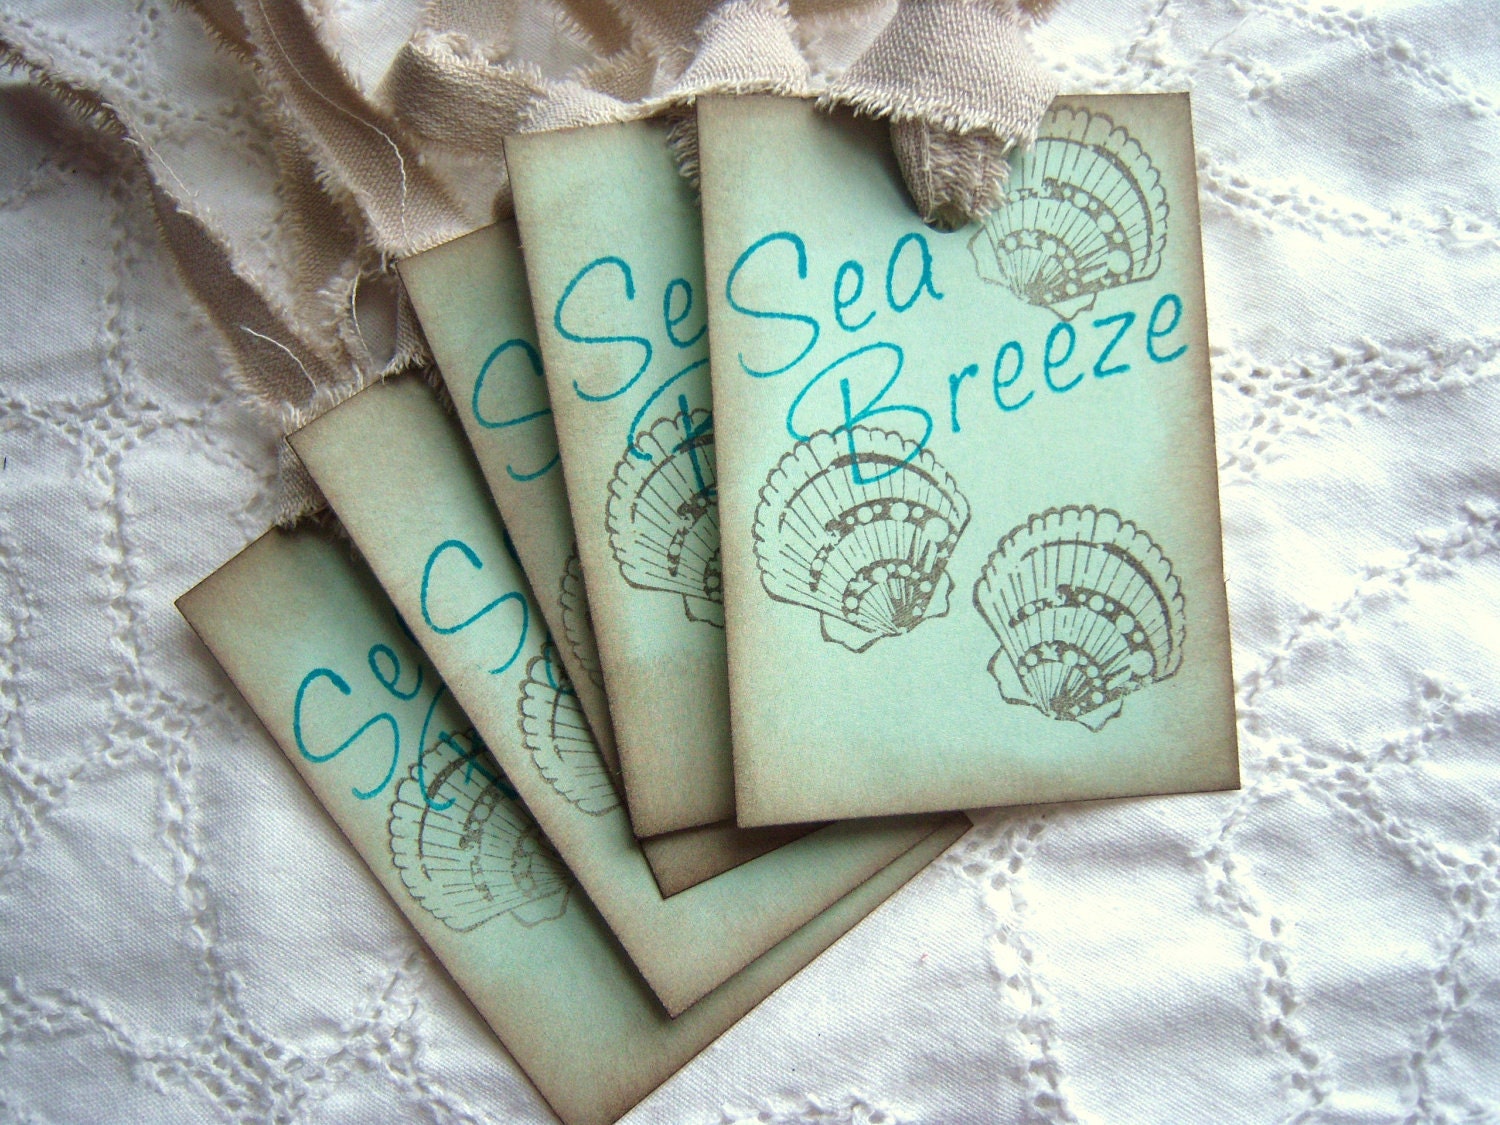
 2nd set of pages. More stamping and a rhinestone butterfly. One of my tags too!


 The best is yet to be. In the center of the fleur de lis are glittery centers


 Paris love.... 


 Paisley and Lace


 I love skeleton keys!! 


 Flowers and Birds. Rhinestone flowers and stamped roses...


Back of the album is stamped also. I stamped lace on the edge and flowers in the center. I have created shadows with the butterflies by stamping twice. 

Happy Scrapping!!!! 
Emily 

Tip Junkie handmade projects 


Free Digital Scrapbook Layout - Vintage Shabby Inspired

Hey!!! I'm at it again! Here's a free vintage inspired scrapbook template!

{free} Vintage Inspired Blog Sidebar Set

Here are some really sweet vintage inspired blog sidebar sets. I've also included a blank one for you to use in case you need it. I have used the font called "circus" on these if you want them to match. It is called circus, but I just love the font!!!!